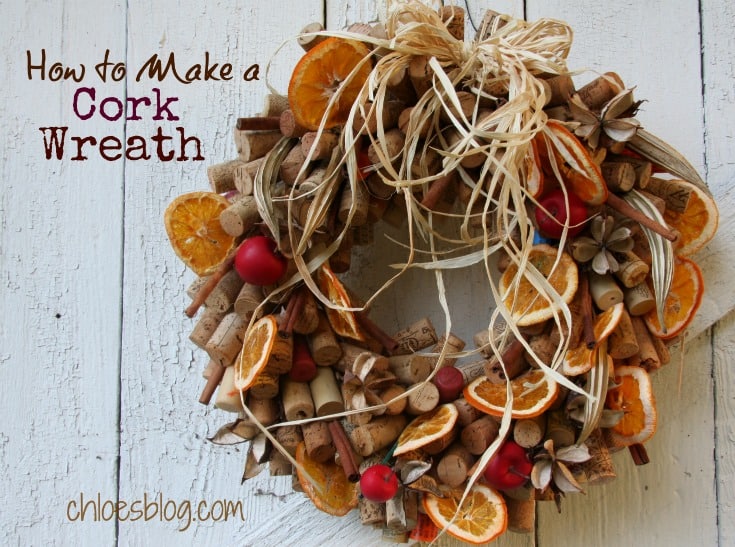
What do you do with all those corks you’ve saved? Make a Cork Wreath.

It isn’t difficult if you follow my directions and take it one step at a time.
Here is how to make the perfect Cork Wreath. Cork wreaths are pretty any time of year, but folks like them for the holidays. I use mine all year and I change the “extras” that I add to them to fit the season.
For Chloe’s cork wreath you will need:
- 12″ straw wreath
- String or wire for hanging wreath
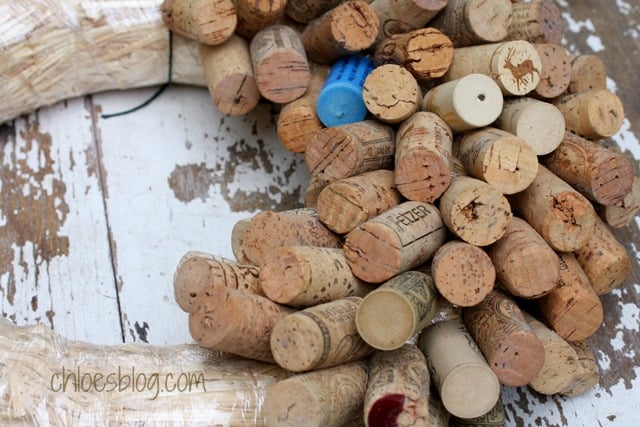
- Lots of wine corks, any kind, you will probably need 200 corks
- Round, double-ended toothpicks, at least one for each cork (or wooden skewers)
- Glue gun and clear glue sticks
- Raffia ribbon or other ribbon if you prefer more color
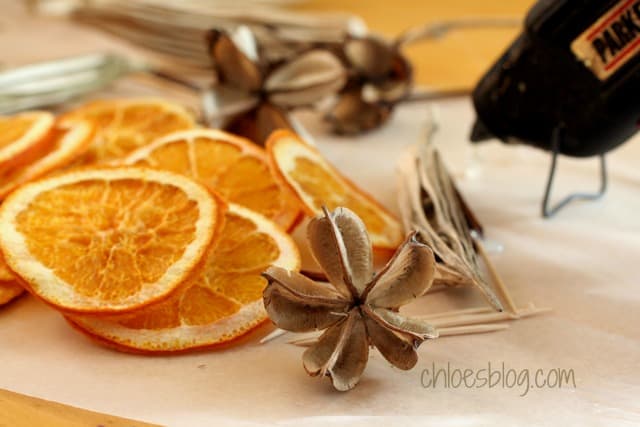
- Decorations like cinnamon sticks, cotton bolls, peach pits, dehydrated orange slices, dried okra pods, small apples or cherries that you get from Floral supply
- Ice pick
Tie a string to be the hanger around your wreath and that will be the beginning of where you start adding your corks. You can remove the plastic on the wreath or if it is clear you can leave it. I remove the green plastic, but leave the clear.
I have been saving corks for years. If you ask friends and anyone who owns a restaurant that sells wine to save the corks, you will be surprised how fast you can get a basket full. I even put a note in my church paper for folks to save their corks – I am Episcopalian and we recycle. We also recycle soap. And there are other fun things to do with corks – next blog post. And it is a great way to recycle!
Now for the long and tedious part – gather your corks, the ice pick, glue gun and toothpicks. Get comfortable. Punch a hole in one end of each cork. Insert the toothpick and add a dot of hot glue at the base of the cork. Repeat 200 times!

For the decorative items: some of these can be stuffed into the wreath without using the toothpicks. For others, you will use the hot glue gun. Glue a toothpick or wooden skewer onto each item such as the cinnamon sticks and the orange slices (see my article on how to do dry oranges). For the orange slices, the smaller slices look better. I lay the items on waxed paper to dry. And be sure to make extra since some will break while you are decorating the wreath.
Beginning at the top of the wreath, push each cork with toothpick at an angle into the wreath. If you feel too much resistance, punch a hole in the wreath with the ice pick. Do this from the top right to the bottom and then from the top left to the bottom. Do this with all 200 corks, or until all the straw is covered with corks. You will need extra corks because some of the toothpicks will break as you stuff them into the straw wreath. I had 190 corks with toothpicks; I had 10 left over and I broke 13. Check to make sure the straw is not visible.

Now make sure the hanger is at the top; if not, re-tie another one on the top of the wreath.
Now for the fun part — time to decorate this cork wreath!
Start decorating – I like to use lots of things. Just insert the decorations between the corks. You don’t need too many. You can change the decorations with the seasons.
I usually do some of the decorating with the wreath on the table. Then I hang it up to finish; this way I can see what it really looks like.
Tie your ribbon and add it to the wreath – either tie it onto the wreath or glue the bow to a wooden skewer.
NOTE: if you use anything organic like oranges or apples, be sure to change them every few months. Moths love them!
Special NOTE: This wreath is delicate. You cannot hang it on a door that is used and expect it to last the season.
 Big Mill Bed & Breakfast, 252-792-8787
- Haint Blue – Why Southerners Paint Their Porch Ceilings Blue - September 12, 2024
- Purple Martins Return to South America - August 19, 2024
- Tomato Jam – Sweet, Savory & Everything in Between - July 15, 2024


